Hiya, I'm back from my trip (absolutely messed up with 4 timezone jet-lag :-)
Ok, so, you have a bunch of different ways you can do this.
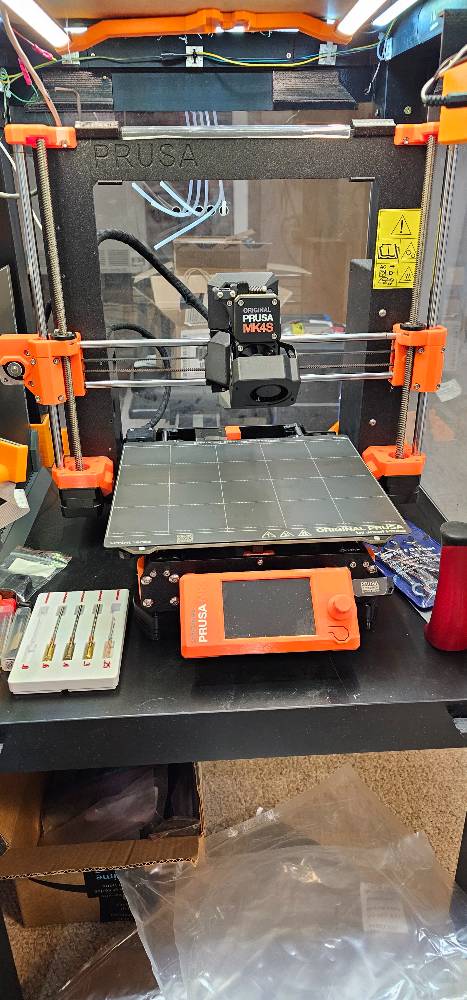
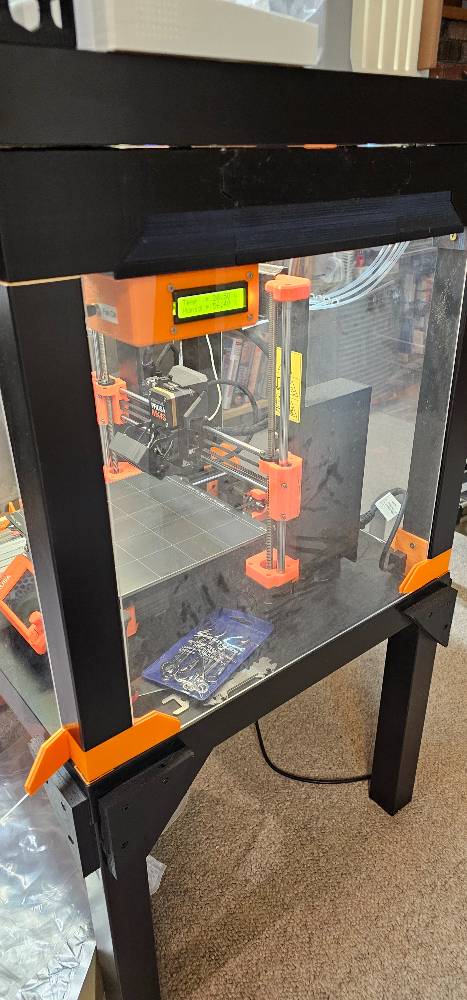
I am actually waiting for delivery of a new 3D printer and I'll have to do exactly the same thing myself as this will be my first filament printer, I've been using the SLA for years but need a cheaper alternative right now.
First, to answer your question about the timestamp. The time calculations are built into the ChipChop library so you don't have to do anything special, you just ask it what the time is :-)
The library runs it's internal clock and adjusts it every time it receives the timestamp and keep adjusting it every second, so even if the ESP was to go off-line the clock will still work keep ticking and update itself every 1 second.
Also, the timestamp received is adjusted to the timezone you've specified for that device and will follow any daylight time saving etc...ChipChop as a platform has its own dedicated physical Time Server that recalculates all timezones for I think 3500 cities every minute and informs all API servers when time changes.
I would definitely recommend that use the ChipChop library as the timestamp received is in milliseconds and the ESP8266 can't handle it directly as it wouldn't fit in its max-integer (timestamp = 64bit, esp8266 = 32bit) so there's a lot of work going in the background.
Here's how:
- First ensure that in the setup you specify:
ChipChop.useClock(true)- Optionally if you have a screen and want to display a formatted time you can also specify
ChipChop.setDateFormat() ..see below
// tell the library to activate the time tracking
ChipChop.useClock(true);
// YY - year 2 digits, YYYY - year 4 digits, MM - month number, MMM - month short string, MMMM - month long string, dd - day as number , hh - hour, mm - minute, ss - second
ChipChop.setDateFormat("dd MMM YY - hh:mm:ss"); // would return a string like: 01 Jan 2025 - 18:45:32
To retrieve the time whenever you want here are the various commands:
Serial.println(ChipChop.Date.year); // as integer
Serial.println(ChipChop.Date.month); // numeric month - 1, 2, 3, 4...12
Serial.println(ChipChop.Date.monthShort); // Jan, Feb, Mar ....
Serial.println(ChipChop.Date.monthLong); // January, February, March...
Serial.println(ChipChop.Date.day); // Day 1 = Monday and day 7 = Sunday
Serial.println(ChipChop.Date.hour); //in 24 hrs format
Serial.println(ChipChop.Date.minute);
Serial.println(ChipChop.Date.second);
Serial.println(ChipChop.Date.timestamp); // the current UNIX timestamp recalculated in seconds from milliseconds
// automatically formatted date/time string, useful to display on lcd/oled screens
// returns date & time String like: 01 Jan 2025 - 18:45:32
Serial.println(ChipChop.Date.formatted);
There is a gazillion ways you can then use the time retrieved for calculations, one trick I've come up with to for example have something happen at a certain time of the day (i.e. real human time) is to use what I call "hour minutes" or "hour seconds" so 15:46h would be
15 * 60 + 46 = 946 that would be the 946 th minute of the day, quite useful for setting up alarms
Let's say you want to check if something has happened between two times, dunno 8:30AM and 5:15PM
// you really should use a 24hr clock (AM/PM adds extra complexity) so 5:15PM is 17:15
int time1 = (8 * 60) + 30; // 8:30am would be the 510th minute of the day
int time2 = (17 * 60) + 15;
int current_time = (ChipChop.Date.hour * 60) + ChipChop.Date.minute;
if( current_time >= time1 && current_time <= time2){
// we are within the time range specified
}
Here are some ideas you can use to implement this
Option 1:
- Have a component called "start" of type "ON/OFF"
- If you know by heart the filament drying times then add in the Dev Console another component named "drying_time" of the type "PIN Code" so you can simply enter the time in minutes from the app and send it to the device
On the ESP:
int drying_minutes = 0;
int drying_timeout_time = 0;
bool drying = 0;
void ChipChop_onCommandReceived(String component,String value, String source, int command_age){
if(component == "drying_time"){
drying_minutes = value.toInt();
}else if(component == "start"){
int current_time = (ChipChop.Date.hour * 60) + ChipChop.Date.minute;
drying_timeout_time = current_time + drying_minutes; // this will give you the time when the drying should stop
drying = 1; // then use the loop to check if the drying should finish
}
}
- if you don't want to remember the times then you can maybe add a "Button Group" component named "drying_time" and add a bunch of button labels i.e. PLA, Nylon, ABS etc...
int drying_minutes = 0;
int drying_timeout_time = 0;
bool drying = 0;
// preset times in minutes for different filaments
int PLA = 35;
int nylon = 86;
int ABS = 124;
void ChipChop_onCommandReceived(String component,String value, String source, int command_age){
if(component == "drying_time"){
//this can be done more elegantly but to give you an idea
// the value received in this case would be name of the button label you've set in the button group component
if(value == "PLA"){
drying_minutes = PLA;
}else if(value == "Nylon"){
drying_minutes = nylon;
} //... etc
}else if(component == "start"){
int current_time = (ChipChop.Date.hour * 60) + ChipChop.Date.minute;
drying_timeout_time = current_time + drying_minutes; // this will give you the time when the drying should stop
drying = 1; // then use the loop to check if the drying should finish
}
}
an in the loop:
void loop(){
if(drying == 1){
// maybe also include another timer so the check is done every minute
int current_time = (ChipChop.Date.hour * 60) + ChipChop.Date.minute;
if( current_time >= drying_timeout_time ){
// we've reached the specified time so stop the dryer
drying = 0; // stop this check
}
}
}
Option 2:
Instead of using the drying time as a target you would use the internal humidity of the desiccator and use an Action to handle it
- have a humidity component and sensor and keep sending it's value (you just need an AHT10 sensor on the ESP)
- have the "start" button component
- create an action that will monitor if the "start" button component is "ON" (meaning the desiccator is running) and if the humidity goes "below" some threshold you would send some "pause" command to the ESP and also have a reverse action that if the humidity goes high to send some "restart" command
(I've modified my kitchen extractor to do exactly that so it starts automatically when you start cooking and shuts itself down when you after a while when you stop :-)
Option 3.
Combination of the above
As I said I will be making exactly the same thing soon and I was thinking to go the humidity route but it sounds like it's the drying time and the internal temperature that I should be using like you are?